Balayage Techniques: A Complete Guide to the Most Popular Hair Color Method
Balayage is the most requested hair color service at salons across the country, and for good reason. But the technique involves more than just “painting highlights on.” The approach your stylist uses, where they place the color, and the products they choose all change the final result.
This guide breaks down exactly how balayage works, the different techniques available, and what to expect at your appointment.
The Short Answer
Balayage is a freehand hair coloring technique where your stylist hand-paints lightener onto your hair in sweeping strokes, without foils. The result is a soft, natural-looking gradient with darker roots and lighter mid-lengths and ends. It works on all hair types, lasts 12–16 weeks between touch-ups, and grows out without a harsh regrowth line. At Numi Hair, balayage starts at $250+.
At Numi Hair in Scarsdale, NY, our colorists have perfected balayage across every hair type and texture. Here’s everything you need to know.
What Is Balayage?
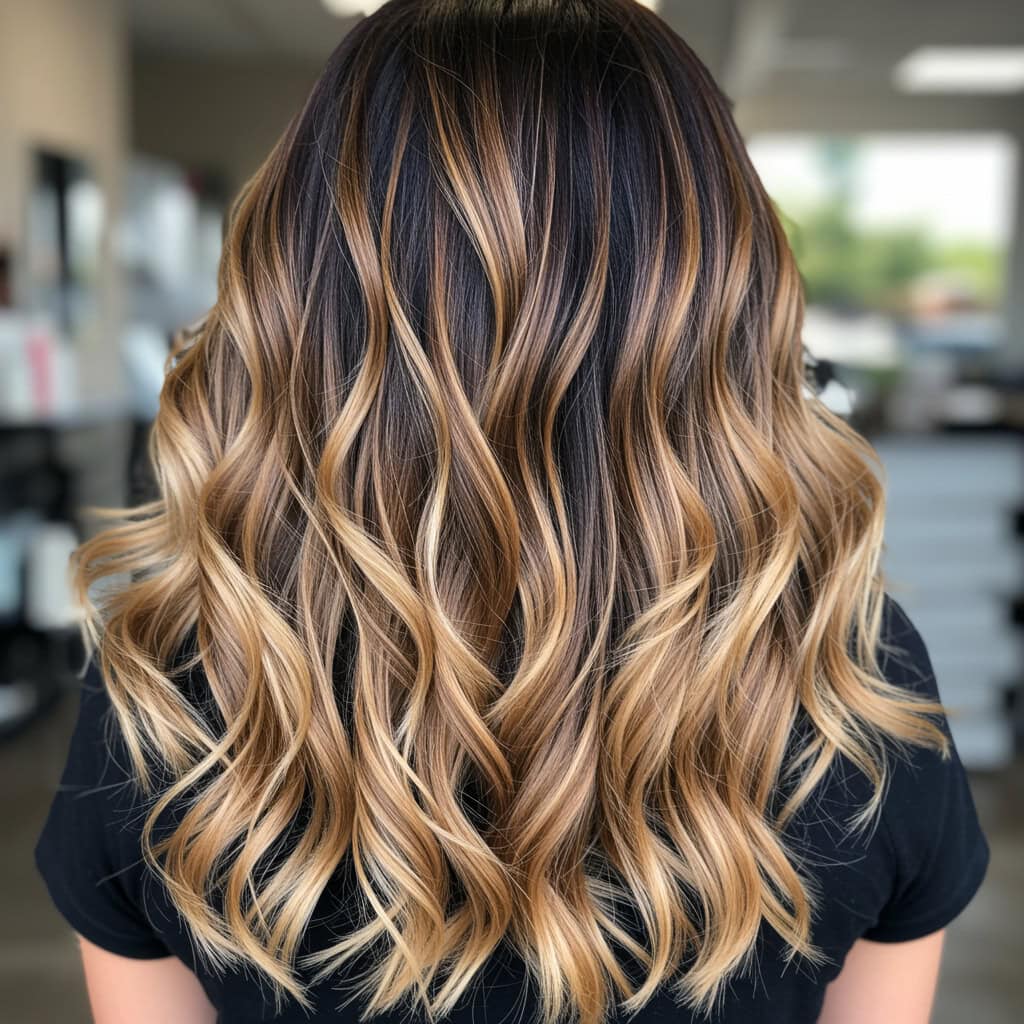
Balayage is a French word meaning “to sweep.” It’s a freehand hair coloring technique where your stylist hand-paints lightener directly onto your hair without foils or caps.
The result is a soft, sun-kissed gradient that looks completely natural. Your roots stay darker while the mid-lengths and ends get progressively lighter. There’s no harsh line of demarcation, which means it grows out beautifully without an obvious regrowth line.
That’s what makes balayage so popular; it’s low maintenance. Most clients go 12–16 weeks between appointments, compared to 6–8 weeks for traditional highlights.
How Balayage Works: Step by Step
Here’s what a typical balayage appointment looks like at Numi Hair:
1. Consultation
This is the most important part. Your stylist examines your hair’s current color, condition, and texture. You’ll talk about the look you want, so bring reference photos if you have them. Your stylist will create a custom plan for placement, tone, and technique based on your hair type and skin tone.
2. Sectioning
Your hair gets divided into sections so your stylist can work through it methodically. This is where the artistry starts. Your stylist maps out exactly where the lightener will go for the most natural result.
3. Hand-Painting
Your stylist paints the lightener onto each section using sweeping strokes. The color goes on heavier at the ends and lighter toward the roots. This is what creates that signature blended gradient. Unlike foil highlights, the lightener is applied freehand, giving the stylist complete creative control.
4. Processing
Once the lightener is applied, it needs time to develop. This usually takes 20–45 minutes depending on your starting color and the level of lift needed. Your stylist monitors the process closely to make sure the color develops evenly.
5. Toning
After rinsing, a glaze or toner is applied to perfect the final shade. This step removes any unwanted brassiness and gives the highlights their finished tone, whether that’s warm caramel, cool ash, or bright platinum.
6. Style and Finish
Your hair is blow-dried and styled so you can see the full result with movement and dimension. This is when balayage really comes to life.
The entire process typically takes 2 to 4 hours depending on hair length, thickness, and how much color is being applied.
Types of Balayage Techniques
Classic Balayage
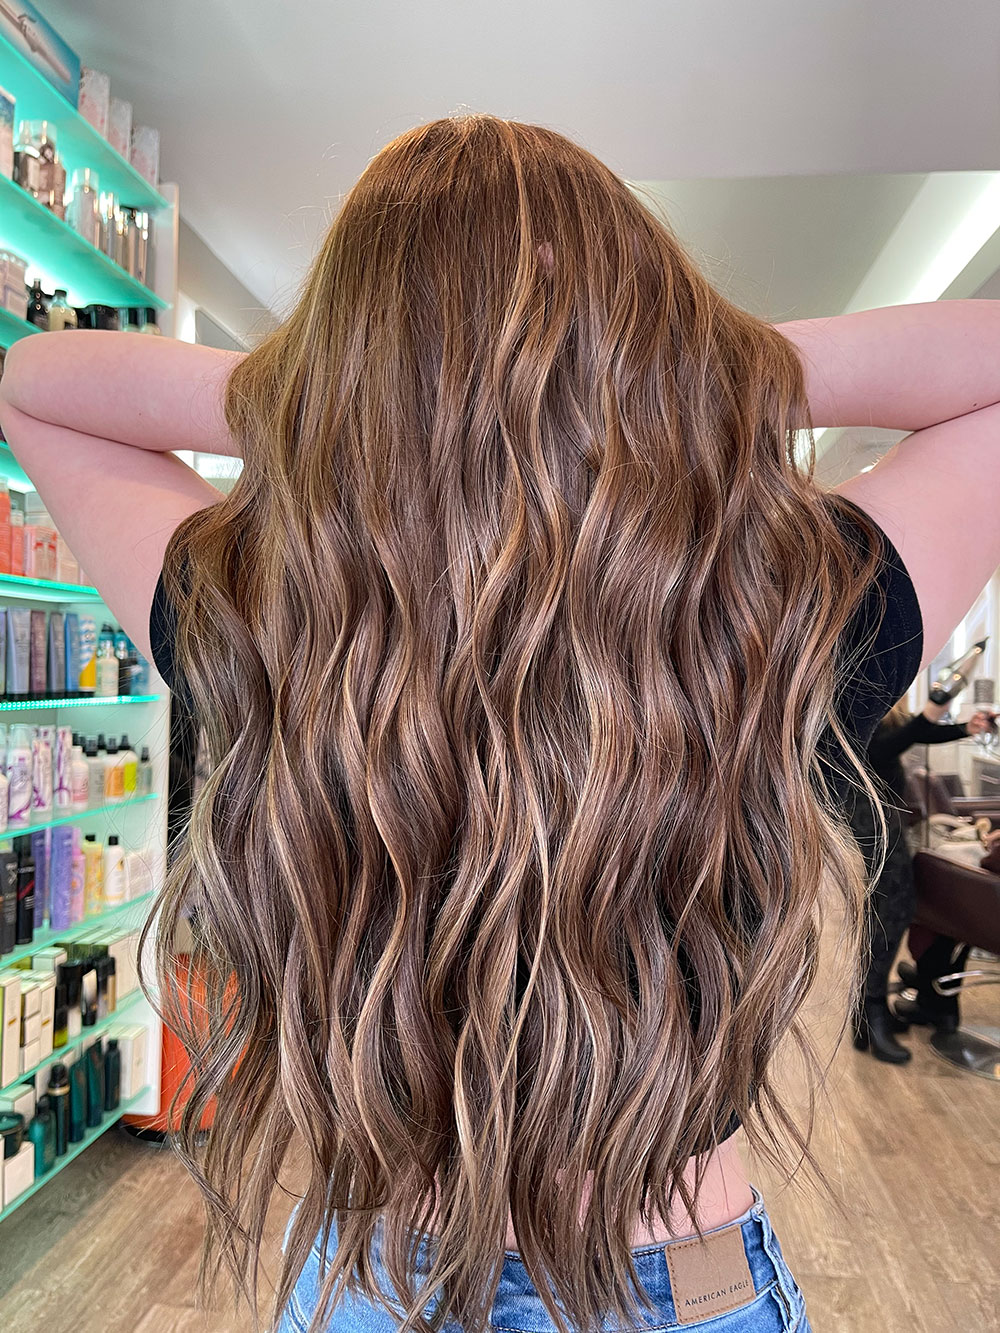
The standard technique: hand-painted highlights focused on the mid-lengths and ends. Creates a soft, natural gradient that looks like sun-lightened hair. Best for clients who want a subtle, low-maintenance look.
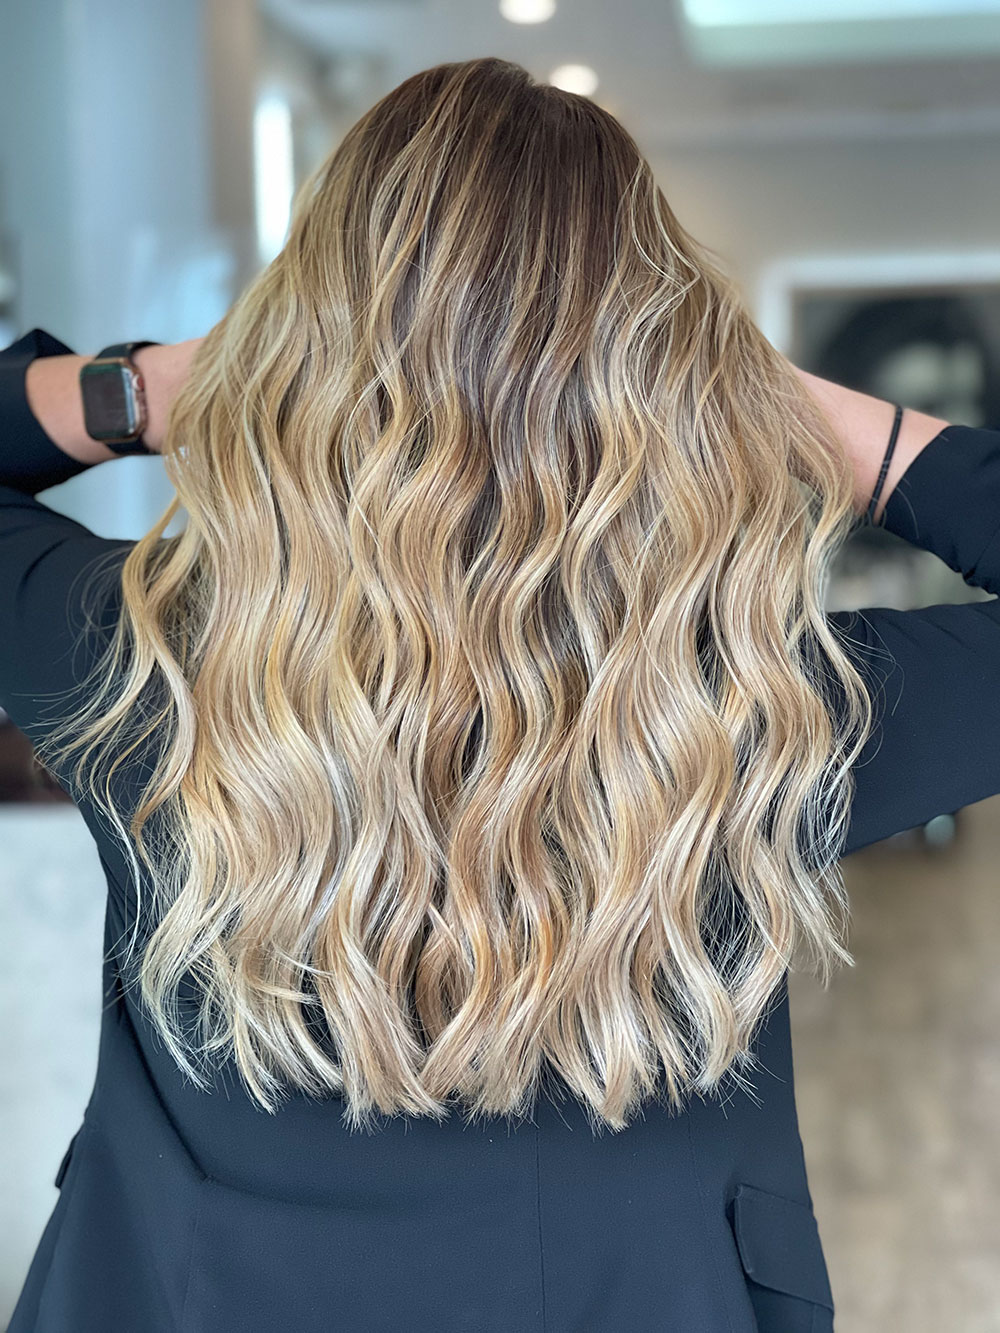
Full Balayage
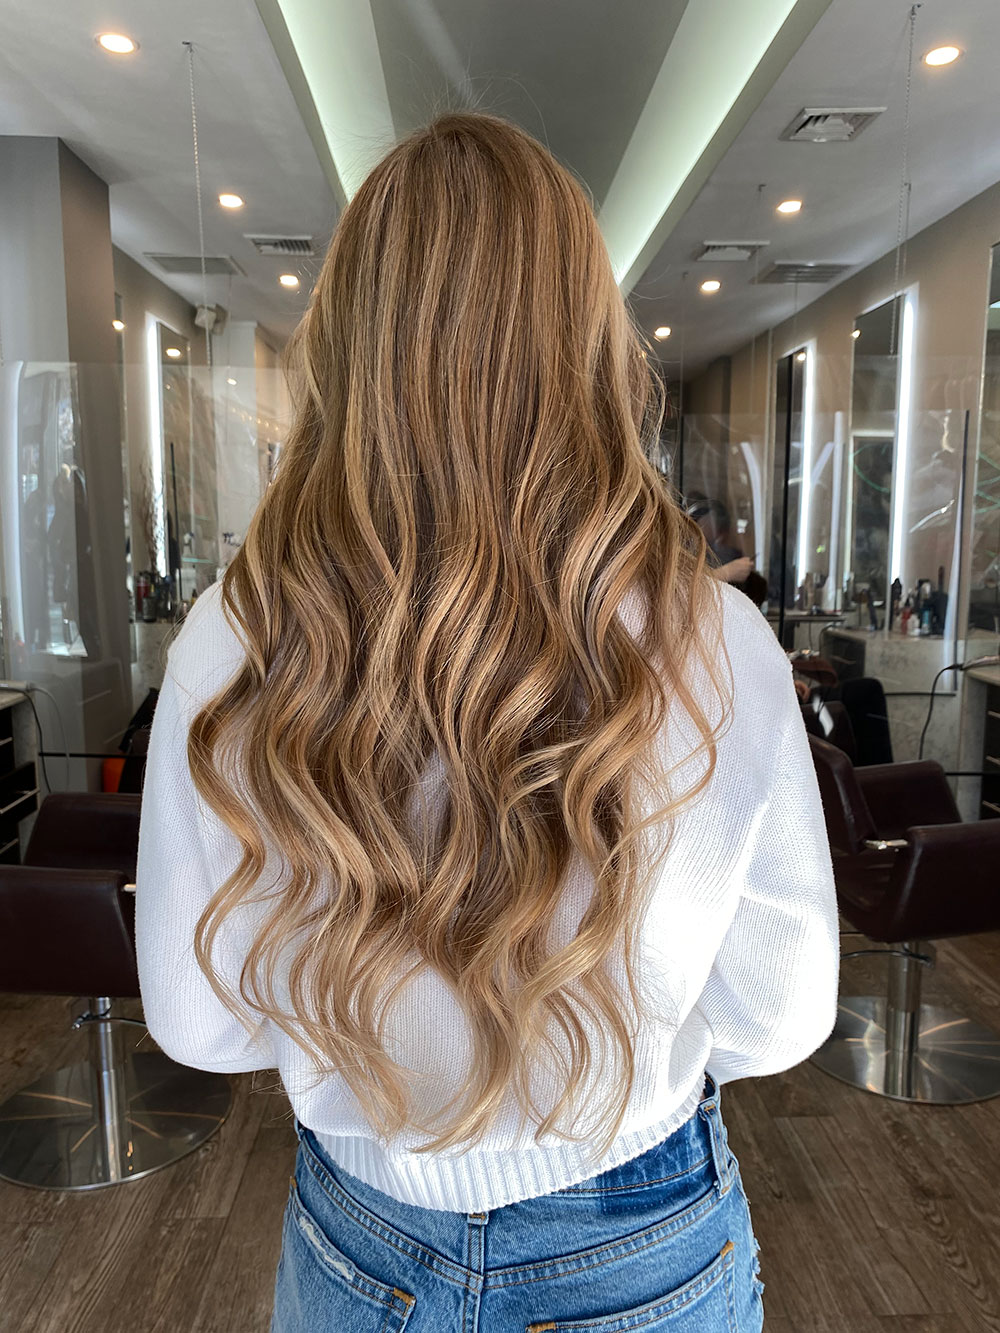
Color is painted from closer to the roots all the way through the ends. This gives more overall brightness and coverage. Great for clients who want more dimension without committing to full highlights.
Partial Balayage
Focused on specific areas, usually the face frame and top layers. This is a lighter option for clients who want just a touch of brightness without changing their overall look. It’s also more affordable and faster.
Balayage + Foils (Foilyage)
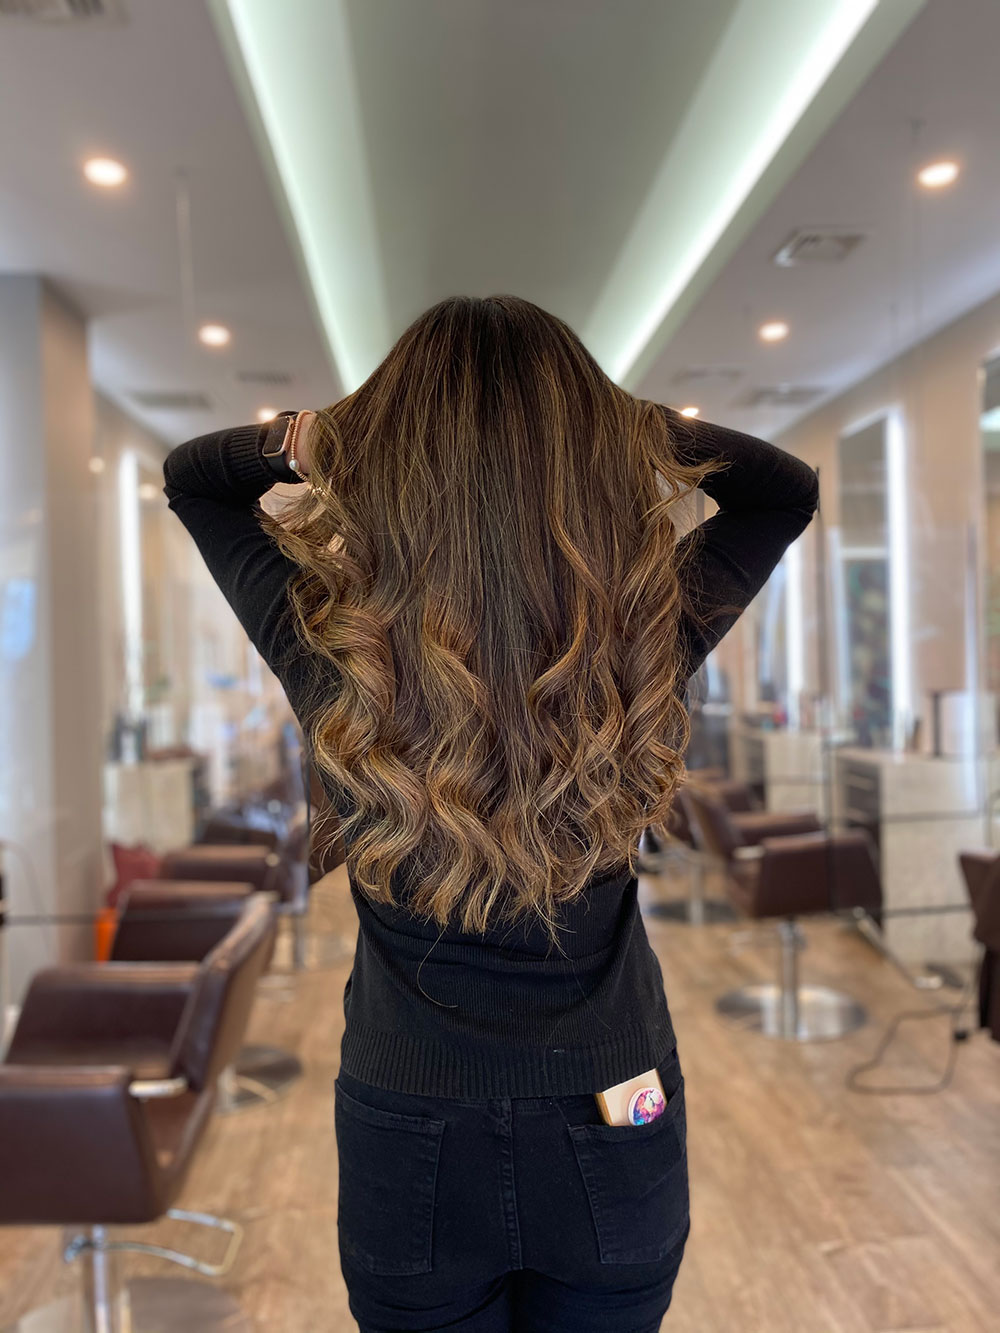
A hybrid technique that combines hand-painting with foils for more lift and brightness. The foils intensify the lightening process, making this a great option for clients with darker hair who want a more dramatic result.
Reverse Balayage
Instead of going lighter, darker tones are painted into blonde or highlighted hair to add depth and dimension. This is great for blondes who want a more natural, rooted look without growing their color out.
Best Hair Types for Balayage
Balayage works on virtually every hair type. Here’s how it performs across different textures:
Straight hair shows off the color transition cleanly. Every brushstroke is visible, so precision matters.
Wavy hair is the sweet spot for balayage. The waves create natural movement that makes the highlights look even more blended and dimensional.
Curly hair looks incredible with balayage because the curls catch light at different angles. Your stylist will paint based on how your curls fall naturally.
Fine hair benefits from balayage because the hand-painted highlights add the illusion of thickness and volume without weighing hair down.
Thick hair holds balayage beautifully, and the color lasts longer. More sections may be needed, which can add time to the appointment.
Balayage vs Other Color Techniques
Wondering how balayage compares to other options? Here’s a quick breakdown:
Balayage vs Highlights: Highlights use foils for a more structured, uniform look. Balayage is freehand for a softer blend. Read our full comparison in Balayage vs Highlights.
Balayage vs Ombre: Ombre creates a defined dark-to-light fade. Balayage scatters highlights throughout for more dimension. We break this down in Ombre vs Balayage.
Balayage vs Single Process: A single process is an all-over color application, meaning one solid shade. Balayage adds multiple tones for depth and movement.
How to Make Your Balayage Last
The right aftercare keeps your color looking fresh between appointments:
- Use sulfate-free shampoo. Sulfates strip color fast. We recommend Kerastase, Olaplex, or Oribe, all available at Numi Hair.
- Wash less often. Every 2–3 days is ideal. Each wash fades the color slightly.
- Deep condition weekly. Color-treated hair needs extra moisture. A weekly mask keeps it soft and vibrant.
- Use a heat protectant. Heat from blow dryers and flat irons breaks down color molecules.
- Skip the purple shampoo unless needed. Only use it if your highlights start turning brassy, as overuse can make blonde tones look dull or ashy.
- Protect from sun and chlorine. Both pull color out quickly. Wet your hair before swimming and use UV-protectant spray in the summer.
For more tips on extending your results, read our guide on how long a balayage takes and how to maintain it.
How Much Does Balayage Cost?
At Numi Hair, balayage starts at $250+, depending on hair length, thickness, and the complexity of the technique. A full breakdown is in our guide on how much balayage costs.
Because balayage grows out naturally, most clients save money long-term compared to traditional highlights that need touch-ups every 6–8 weeks.
Why Numi Hair for Balayage
Balayage is a freehand technique, so the result depends entirely on your stylist’s skill. Here’s why Westchester clients trust Numi Hair:
- 993+ Google reviews at 4.9 stars; our balayage results speak for themselves
- Named a Top 100 Salon in the U.S. and voted Best of Westchester multiple times
- Expert colorists who specialize in balayage and attend ongoing advanced training
- Premium products from Olaplex, Kerastase, and Oribe to protect your hair during the process
- K18 treatments available to strengthen and repair bonds during color services
- Free parking in front of the salon and across the street, easily accessible from White Plains, Hartsdale, Bronxville, Eastchester, and all of Westchester County
Book your balayage appointment today →
Or call us at 914-228-6366 to schedule your consultation.
Frequently Asked Questions
How long does balayage take?
Most balayage appointments take 2 to 4 hours depending on your hair length, thickness, and desired result.
Does balayage damage your hair?
Any lightening process puts some stress on the hair. At Numi, we use Olaplex and K18 during every color service to minimize damage and keep your hair strong.
How often do I need to touch up balayage?
Most clients come back every 12–16 weeks. Because there’s no harsh regrowth line, balayage grows out naturally and looks good longer than traditional highlights.
Can I get balayage on dark hair?
Absolutely. Balayage looks stunning on dark hair; caramel, honey, and toffee tones are popular choices. Darker starting colors may need a foilyage approach for more lift.
Is balayage better than highlights?
It depends on the look you want. Balayage is softer and lower maintenance. Highlights are more structured and uniform. Read our full comparison to decide which is right for you.
Can I get balayage on short hair?
Yes, balayage works on bobs and longer pixie cuts. Face frame highlights or partial highlights may be better options for very short styles.
Most balayage appointments take 2 to 4 hours depending on your hair length, thickness, and desired result.
Any lightening process puts some stress on the hair. At Numi, we use Olaplex and K18 during every color service to minimize damage and keep your hair strong.
Most clients come back every 12–16 weeks. Because there’s no harsh regrowth line, balayage grows out naturally and looks good longer than traditional highlights.
Absolutely. Balayage looks stunning on dark hair; caramel, honey, and toffee tones are popular choices. Darker starting colors may need a foilyage approach for more lift.
It depends on the look you want. Balayage is softer and lower maintenance. Highlights are more structured and uniform. Read our full comparison to decide which is right for you.
Yes, balayage works on bobs and longer pixie cuts. Face frame highlights or partial highlights may be better options for very short styles.
Numi Hair Salon is located at 69 Harney Road, Scarsdale, NY 10583 — just off the Bronx River Parkway. We serve clients from White Plains, New Rochelle, Eastchester, Bronxville, Hartsdale, and throughout Westchester County.
Categories
Recent Posts
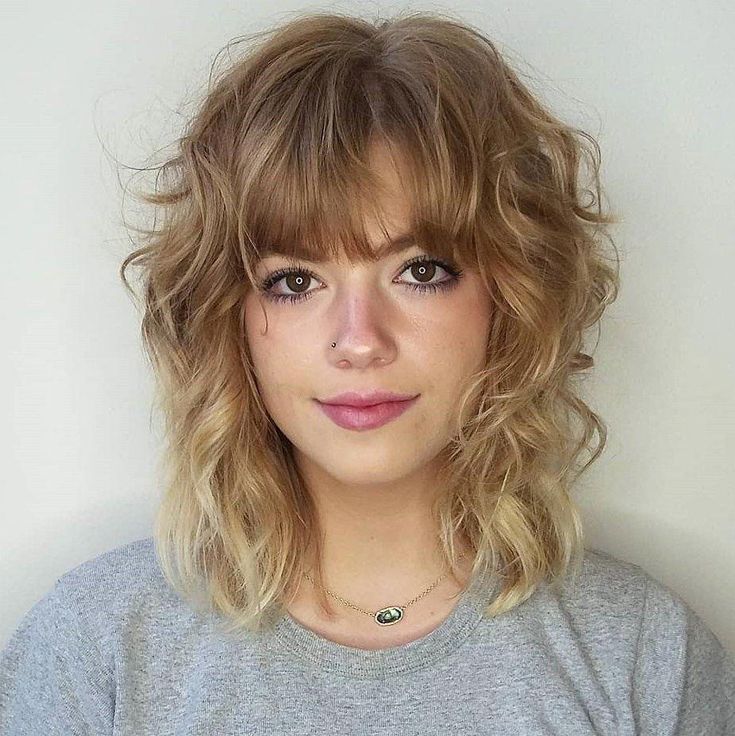
A shag haircut for fine hair sounds like a contradiction. [...]

The French bob is the short, chin-grazing haircut you keep [...]
If you have 2A wavy hair, you've probably been told [...]